{weavyurl} in the script blocks with showcase.weavycloud.com{weavyurl} in the script blocks in the tutorial.
In this tutorial, we are adding the Weavy client to a Telerik ASP.NET MVC template project. The steps involved can differ depending on which Telerik product you are embedding Weavy into, but as long as it is web-based the basic steps are the same.
script tags. Also, make sure you call jQuery.noConflict(); before loading any other script files.Locate the file _layout.cshtml. Open it and add the script block below in the head-tag:
<script src="https://{weavyurl}/javascript/weavy.jquery.min.js"></script>
<script>
    jQuery.noConflict();
    var weavy = new Weavy();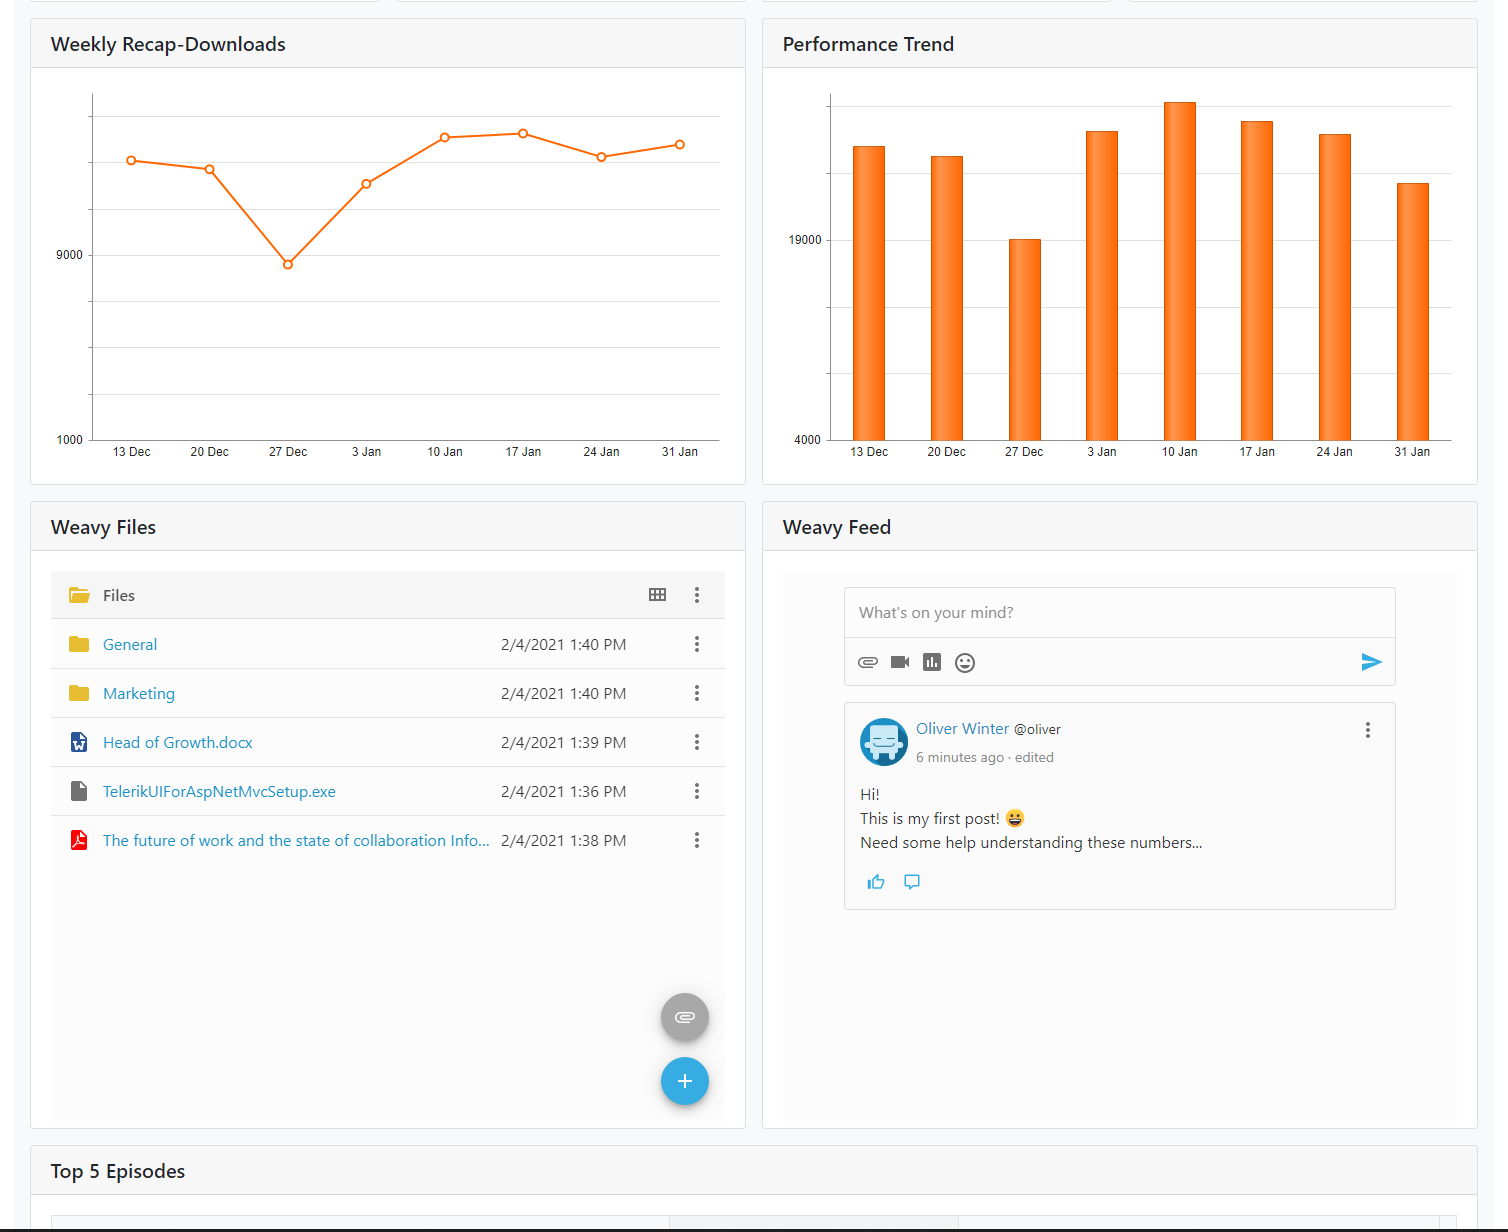
</script>Weavy can be inserted on your page exactly where you want it to be. In this example, we are going to add a Weavy files app and a Weavy feeds app to a Telerik TileLayout control. But remember, you can add Weavy to a page in a number of different ways.
Add the markup that defines the two Telerik templates and the containers where Weavy is inserting the two apps:
<script id="apps-weavy-files" type="text/x-kendo-template">
    <div id="weavy-files-container" style="height:550px"></div>
</script>
<script id="apps-weavy-feed" type="text/x-kendo-template">
    <div id="weavy-feed-container" style="height:550px"></div>
</script>Locate the TileLayout control and add the containers as described below:
@(Html.Kendo().TileLayout()
    .Name("tilelayout")
    .Columns(4)
    .RowsHeight("145px")
    .ColumnsWidth("350px")
    .Containers(c => {
        // other containers go here
        c.Add().Header(h => h.Text("Weavy Files")).BodyTemplateId("apps-weavy-files").ColSpan(2).RowSpan(4);
        c.Add().Header(h => h.Text("Weavy Feed")).BodyTemplateId("apps-weavy-feed").ColSpan(2).RowSpan(4);
    })
    .Reorderable(true)
    .Resizable(true)
    .Events(e=>e.Resize("onTileResize"))
)Weavy comes with several built-in apps. Every app needs to be associated with Space. You can think of the Space as a container for one or more apps.
Update the script block you added earlier so that it now contains the space and app declarations found below. This piece of code will load the Weavy client, create a space and load the apps in the containers you specified.
<script src="https://{weavyurl}/javascript/weavy.jquery.min.js"></script>
<script>
    jQuery.noConflict();
    var weavy = new Weavy();
    var space = weavy.space({ key: "telerik-space", name: "Telerik Space" });
    space.app({ key: "my-files", name: "Files", type: "files", container: "#weavy-files-container" });
    space.app({ key: "my-feed", name: "Feed", type: "posts", container: "#weavy-feed-container" });
</script>
Every space and app needs at least a key when created. The key is how you control what should be displayed from Weavy in your app. Think of it as an association between the context in your app and what content to show from Weavy. Let's say you have a customer page showing Customer X. You probably have an internal ID or GUID of that customer in your app. Use that unique id when creating the key for spaces and apps in Weavy.
eyJhbGciOiJIUzI1NiIsInR5cCI6IkpXVCJ9.eyJzdWIiOiJvbGl2ZXIiLCJuYW1lIjoiT2xpdmVyIFdpbnRlciIsImV4cCI6MjUxNjIzOTAyMiwiaXNzIjoic3RhdGljLWZvci1kZW1vIiwiY2xpZW50X2lkIjoiV2VhdnlEZW1vIiwiZGlyIjoiY2hhdC1kZW1vLWRpciIsImVtYWlsIjoib2xpdmVyLndpbnRlckBleGFtcGxlLmNvbSIsInVzZXJuYW1lIjoib2xpdmVyIn0.VuF_YzdhzSr5-tordh0QZbLmkrkL6GYkWfMtUqdQ9FM
Configure the Weavy client to use the token by setting the jwt parameter when declaring the Weavy instance:
<script src="https://{weavyurl}/javascript/weavy.jquery.min.js"></script>
<script>
    jQuery.noConflict();
    var weavy = new Weavy({ jwt: "eyJhbGciOiJIUzI1NiIsInR5cCI6IkpXVCJ9.eyJzdWIiOiJvbGl2ZXIiLCJuYW1lIjoiT2xpdmVyIFdpbnRlciIsImV4cCI6MjUxNjIzOTAyMiwiaXNzIjoic3RhdGljLWZvci1kZW1vIiwiY2xpZW50X2lkIjoiV2VhdnlEZW1vIiwiZGlyIjoiY2hhdC1kZW1vLWRpciIsImVtYWlsIjoib2xpdmVyLndpbnRlckBleGFtcGxlLmNvbSIsInVzZXJuYW1lIjoib2xpdmVyIn0.VuF_YzdhzSr5-tordh0QZbLmkrkL6GYkWfMtUqdQ9FM" });
    var space = weavy.space({ key: "telerik-space", name: "Telerik Space" });
    space.app({ key: "my-files", name: "Files", type: "files", container: "#weavy-files-container" });
    space.app({ key: "my-feed", name: "Feed", type: "posts", container: "#weavy-feed-container" });
</script>Navigate to the page in your Telerik project where the TileLayout is displayed. The file and feed app should load and be sortable, just like any other tile.
To access live chat with our developer success team you need a Weavy account.
